I will always, always, always, make a case to plan before doing something new. In fact, it took three years before settling on a paint color for our living room (Sherwin Williams Greek Villa ftw). My Google search history had: “What direction is my house?” “Best paint color for cherry wood floors,” “Color painting trends,” and “Coffee house vibe paint colors.”
Needless to say… there was a lot of planning and research before settling on the color—and we hadn’t even found a painter yet!
When it comes to trying a new medium, like watercolor paints, I believe it’s important to plan and prepare before putting paint to paper. You never want to feel like you wasted paper, paints, time, and money (especially in the year of our Lord’s 2024 economy); so I want to chat about the steps to mapping out a piece, specifically florals, before painting and why it’s important to do so.
Preparing Your Creative Space for Watercolor Painting
Before you start swishing that brush in your water cup, your space has to be set up properly. An intentional painting station is not only a creativity booster but it can also help ease the stress if you have to work quickly. Here’s how to set up your painting station (or kitchen table or garage):
1. Clean + flat surface: Start with a tidy, clutter-free table or desk. You’ll need space for your supplies and elbow room to move freely. It’s important that your area is also level with no slants or bubbles because the water will naturally move to any area that has a dip or curve.
2. Good lighting: Natural light is the best light. BUT if you’re working in-between naps or late in the evening, a lamp with a cool bulb is a great alternative. If you’re using a light (like a Canvas or other moveable ring light), be careful as you’re angling it as the water will reflect the light.
3. Materials: If you’re left or right-handed, keep your palette and water cup near your dominant hand. Your brushes can be placed opposite or near the top of your painting area.
Essential Supply List for Watercolor Florals
There are so many art supplies out there, and it can be super confusing to pick “the right one.”
In my Amazon Storefront, I’ve got over thirty of my favorite tools ready to add to your cart—and since they come within two days, I’m often ordering from this list for any weekend studio time. Click here to see my favorite watercolor supplies list.
Here are the essentials that you’ll need for your painting time:
- Watercolor Paper
- Watercolor Paints
- Round Brushes
- Pencil and Eraser
- Palette
- Water Cup
- Paper Towels
I’ve also written a blog post with supplies that can be used at specific skill levels: someone starting, someone who’s comfortable, and someone who’s adventurous. These are my go-to supplies (again, they can be shopped and delivered within 3–5 days from Amazon which makes it *super* exciting) and can stretch your creativity to new levels.
Mapping Out Your Watercolor Painting: Key Steps
Now, let’s get into the fun part… sketching!
Planning (or mapping) out your piece before you start painting gives you the best foundation for success in your painting—and eliminates a lot of “wasted” paper. For this exercise, I’ll demonstrate mapping out a piece—the lights and darks—with florals as the subject.
Step 1: Lightly Sketch the Florals for Watercolors
With your pencil, gently sketch the outlines of your flowers. Focus on the main shapes and avoid details at this stage. Remember, these outlines are just guides for your painting. Keep your lines light, as they will be covered by the paint. However the lighter the color (the more the paint is diluted with water), the more the graphite will show through the painting. It’s important to sketch very lightly in this process.
PRO TIP: If you can, use a kneaded eraser to help pick up the graphite. These erasers cause less friction and keep the paper more stable.

Step 2: Identify Light Areas before Painting
Painting with watercolors is counterintuitive compared to oil or acrylic because we’ll paint from light to dark. This means the lightest parts of your painting will remain untouched by paint.
As you paint, you’ll continue to layer and layer paints, thus making certain sections darker and darker because of the layers.
Carefully identify and mark the areas you want to keep white or very light. In the image below, look at the flower on the right, and you can see that I’ve started to separate these lighter areas with my pencil.

Erasing, CTRL+Z, or painting over your mistakes isn’t an option when it comes to watercolor painting… So it’s important to understand where the lightest areas are and protect them.
Step 3: Mark and Paint Shadows and Midtones
Next, lightly outline the areas where the shadows will be. This will guide you when you begin painting and ensure you maintain the light areas. Think about where the light source is coming from—the opposite side will be the darkest and in between your highlight and shadow will be the midtone.
Start painting the darkest shade and leave the highlight area alone. With a wet brush, gently push the paint from the “dark area” to create your midtone. This creates a seamless blend from the midtone to the darkest shade. Once the paint is dry, add another layer to the darker area to build that shadow. Continue this process until you’re satisfied with the depth and contrast.
Working Light to Dark in Watercolor
As you’re painting with watercolors, it’s important to remember that this is an entirely different medium than painting with oils or acrylics. The paper needs time to dry, and you need time away to assess, think, and reset.
Apply 1 or 2 colors, then step away and do the dishes.
Apply another set of colors, then leave and work on laundry.
As you leave and come back, you’ll notice areas that need more work, or areas that are “finished” and no longer need to be touched.
However, if you work without stepping away, you’ll “overwork” the piece to a point where you can’t recover it.
Most often, an artist dislikes their watercolor piece because they’ve spent too much trying to paint new layers before they’ve properly dried. The colors become muddy and dark, the forms and subjects lose their sharpness, and it becomes a far cry from the imagined painting.
I promise that if you take those breaks and let the paint dry before trying something new, you’ll throw away paper less and less. This medium teaches you patience. Unfortunately. Or fortunately.
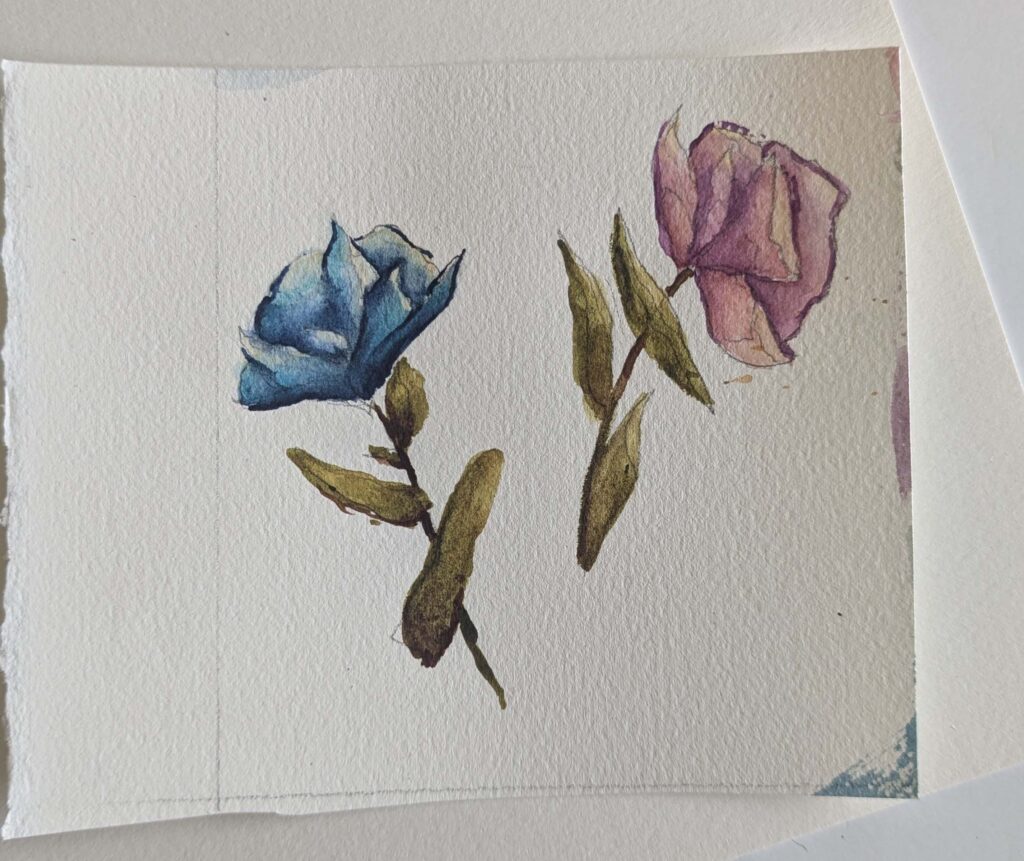
Here’s the finished painting using the wet-on-wet, wet-on-dry, and lifting techniques:

Why It’s Important to Plan Before You Paint
Like many different projects (a kitchen reno, a new haircut and color, or even a road trip), making a plan before painting is critical to helping you succeed. When you sketch and map out your painting, you gain more confidence in knowing what colors you’re applying and where. The lights and darks will create a stronger contrast, and you’ll paint without second-guessing your decisions—because you knew what you wanted and how to get there.
Mapping out your watercolor piece before painting is a game-changer. It gives you the structure and freedom to unleash your creativity while maintaining control over your painting. You can always break the rules you’re painting… 😉 but it’s good to start with a framework first before painting outside of the lines.
Now that we have our piece sketched out… we can start adding color! Check out this blog post on my favorite floral watercolor palettes + how you can make 25 colors from just 5 paint tubes.
If you’re ready to go full-force and jump into learning how to paint with watercolors, join the waitlist for Watercolor Foundations! A 6-module class that eliminates the guesswork of watercolor painting. It’s a deep dive into the equipment, tools, techniques, and process—because I believe that if you understand why and how, you’ll throw away less paper and start framing your own work in your house. Join Watercolor Foundations here >>
P.s. Everything in this blog, images, and demonstrations are all included in Watercolor Foundations! Sharpen your skills and enjoy this medium with more over-the-shoulder videos, a workbook, step-by-step projects, downloadable color palettes, and more. Think of this as that twice-baked potato, cheese, and bacon appetizer before getting to your grilled salmon with green beans and rice pilaf. Join Watercolor Foundations here.

Leave a Comment +